Sometimes Sterile Technique is Preferred
Using a clean technique works for most procedures you perform at home. However, specific jobs may be too risky to use clean techniques alone. For example, when you complete a process that requires putting a foreign body into the bloodstream, the potential exists to introduce bacteria. Once bacteria enter the bloodstream, it has direct access to the heart and brain as it circulates throughout the body. Using sterile techniques helps reduce the risk of total body infection (sepsis).
Sterile Technique is Best with Almost Any Body Opening*
I use a sterile technique when inserting medical devices into body openings (*other than the mouth or rectum). Some would argue you can use a clean method for urinary catheterizations and even stick for a lab test or start an IV using a clean technique at home, but I prefer not to risk it. Instead, I recommend discussing what is best in your situation with your healthcare provider based on the care recipient’s immune response. Some who are immunocompromised will need a sterile technique, while others who are more substantial may be able to use the clean method.
Why the Difference Between Hospitals and Homes?
In the hospital, everyone throws everything away that touches anyone or anything. If someone violates the sterile technique even the slightest, observers become excited, announcing a breach to the sterile field, and the item is thrown away. However, they don’t react similarly if that breach occurs in the home. Why is that? The answer lies in the variety of potential exposures to germs due to the volume of people and the fact that people develop resistance to germs residing in their homes constantly due to daily exposure.
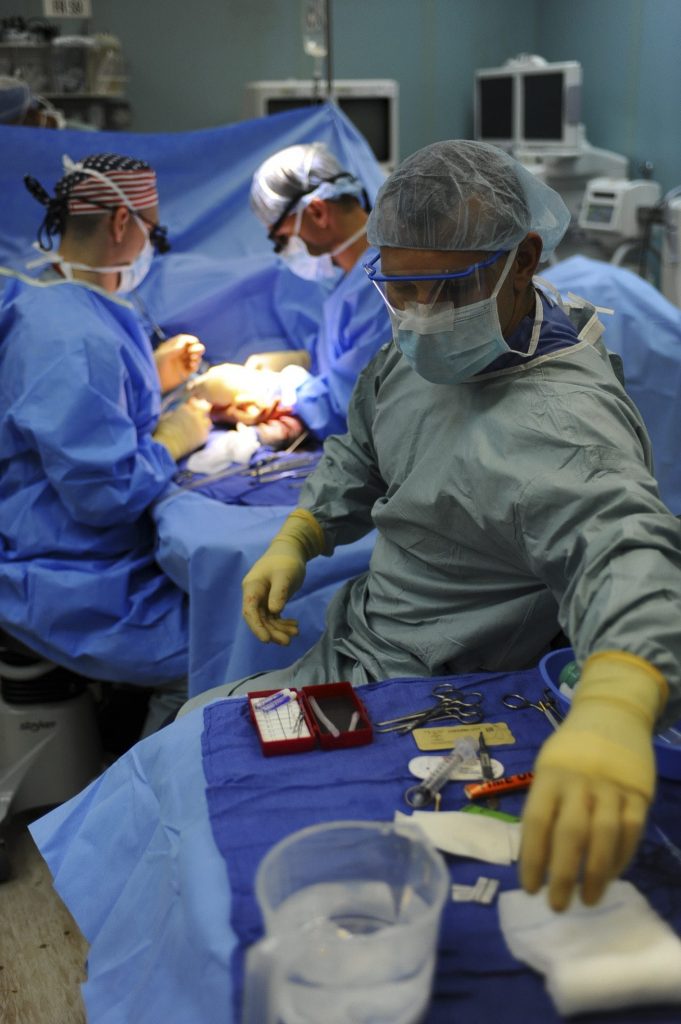
Hospitals are Germy Places
In a hospital, healthcare workers travel from one patient to another all day. The micro-organisms found on the floor are not seen, but millions are left on the floor by the shoes of other healthcare workers. Hundreds of healthcare workers, visitors, patients, and vendors walk the halls daily, carrying the outside world into the hospital and depositing those germs indoors. When you visit the hospital, you carry away those germs on your shoes, plus you collect the germs on the doorknobs, handrails, and light fixtures you touch, along with all the other building occupants that day.
Lots of People Enter Your Room
Although hospitals clean patient rooms frequently, people continually bring new germs in and out of them. Therefore, only single-use sterile products are used on you to decrease the potential bacteria entering your body openings. Hospitals also don’t use products exposed to open air before beginning a procedure to reduce the amount of contamination from airborne particles floating down to land on what you might receive.
Fewer People Are at Your Home
At your home, the number of people coming in and out every day is significantly less, and where they go each day may also be. So even if you go to the grocery store and hundreds of people cross your path, washing your hands and removing your shoes when you come home dramatically reduces the number of bacteria you introduce into your home. Therefore, as a home caregiver, for most procedures, you can decide whether to use a sterile technique or clean. The choice is yours.
Reference: A CaregiveCaregiver’sor Tracheostomy Care at Home. Preferred HomeCare /LifeSolutions. Phoenix, AZ.
Tracheostomy Care at Home provided by: 
YouTube Videos Demonstrating Sterile Technique
How to Put on or Don Sterile Gloves for Nursing Students & Health Care Workers
Produced by: https://www.youtube.com/@RegisteredNurseRN
Watch how a nursing student learns to put on (don) sterile gloves. Knowing the technique for donning sterile gloves is essential prior to learning any sterile procedure; it is the backbone for everything else you learn. It’s not as simple as you may think.
Video Courtesy of RegisteredNurseRN.com
*************************
Produced by: CSMDTube
Demonstration showing how to set up, pour into a basin and add items to a sterile field.
Step-by-Step Procedures
Opening and Putting on Sterile Gloves
- Open the sterile gloves package, touching only the glove wrapper side.
- Remove the inner package containing the gloves and place them on a dry flat surface.
- Open the inner package, touching only the outer edge of the wrapper.
- Use the thumb and fingers of your non-dominant hand to grasp the folded inner surface portion of the glove for the dominant hand, touching only the inner part of the glove to avoid contaminating the outer portion of the glove.
- Lift the glove and insert your dominant hand into the glove, palm side up.
- Pull down the cuff by touching only the inner surface of the glove. Then, gently stretch the glove over your hand. Be sure the outside of the glove doesn’t touch the nonsterile surface.
- Insert the four fingers of your dominant gloved hand into the sterile outer cuff of the other glove, keeping your thumb pulled back out of the way.
- Lift the glove and insert the nondominant hand into the glove. Low the cuff to come uncuffed as you finish putting it on, but don’t touch the arm’s skin with your gloved hand.
- Adjust the fingers of the gloves after both your hands are gloved.
- Keep your hands above waist level to decrease the potential for contamination.
Lippincott Nursing Procedures (2019) 8th Ed. Philadelphia: Wolters Kluwer. (716)
“Video’s courtesy of the College of Southern Maryland.”
Adapting from Hospital to Home Care
Hospital Practices | Vs. | Home Practices |
Prefers use of Sterile Technique using the following process |
| Prefers use of Clean Technique unless wound is infected |
Wash hands thoroughly | Excellent handwashing is primary focus since sterile technique is not used. | |
Don Sterile Gloves | Wearing gloves is optional – gloves may be sterile or non-sterile; usually non-sterile | |
Use Sterile Decontaminated Equipment and Sterile packages | May re-use equipment after proper cleaning | |
Use Sterile Water which is replaced every 24 hours | Use prepared sterile water and normal saline from home | |
Return equipment for decontamination | The same supplies and equipment may be re-used if cleaned following the manufacturer’s instructions. |
Making Sterile Water for Home Use
Supplies:
- Distilled or tap water (distilled is preferred),
- Two 2-quart pans with lids,
- One quart-size jar and lid, and
- A Funnel.
Sorry, this procedure must be done on the stovetop. Do not use the dishwasher.
Steps:
- Wash your hands and all the dishes with mild soapy water and rinse.
- Fill one pan with 4 cups of water.
- Bring to a boil, cover, and boil for 10 minutes from the time you see a bubbling boil.
- In the other pan, place the quart jar, lid, and funnel.
- Cover contents with water, bring to a bubbling boil, apply top, and let it boil for 10 minutes from when the bubbling boil starts.
- After 10 minutes of boiling, remove the heat and let cool to room temperature.
- Remove the jar from the water. Do not touch the inside of the jar.
- Pour prepared water into the jar using a funnel. Paint the jar lid and label it “Sterile Water,” adding the date.
Making Normal Saline for Home Use
Supplies:
- Distilled or tap water (distilled preferred), 4 cups
- Table salt (non-iodized),
- Measuring cup,
- Measuring spoon,
- Two (2) quart pans with lids,
- One-quart size jar with a lid,
- Funnel
Steps:
- Wash your hands and necessary dishes with warm soapy water and rinse.
- Fill a quart pan with 4 cups of water.
- Add two level teaspoons of salt to the water.
- Bring to a bubbling boil and time for 10 minutes of bubbling time.
- Place quart jar, lid, and funnel in the pan and cover with water. Bring to a boil, cover, and let boil for 10 minutes at a bubbling boil.
- After 10 minutes, remove both from the heat and cool to room temperature.
- Without touching the inside of the jar, pour the salt solution into the jar, apply the lid, and label it as Normal Saline with the date.
Making a Vinegar Cleaning Solution
- Use 50 % white distilled vinegar mixed with 50% water.
- Soak items for 15-30 minutes, rinse thoroughly, and dry.
How to Open a Sterile Kit or Pouch
- Remove the outer plastic wrapper from the kit
- Place the inner wrapped package on a dry flat surface.
- Touching only the wrapper’s edge, open the farthest wrapper first, peel it back, then peel each side wrapper back, and finally, the bottom wrapper. Inside kit should be exposed.
Opening a Peel-Back Container or Pouch
- Grasp the unsealed corner of the wrapper and pull it toward you.
- Open a peel-pack pouch by grasping each side of the unsealed edge with the thumb side of each hand parallel to the seal and pulling apart gently
- Hold the sides back so the wrap covers your hands and exposes the sterile item.
- Dop the item onto the sterile field if it is light. Don’t allow the piece to slide across the package side when dropping the item onto the sterile field.
- You may also use the inside of the package as your sterile field. But, again, be very careful not to touch the inside of the package.
Lippincott Nursing Procedures (2019) 8th Ed. Philadelphia: Wolters Kluwer. (715)